Friday, April 25, 2014

Small postman

Small postman for a small post. My submission for The Weekend In Black and White.


An inch at a time

Maybe I'll use up those scraps after all! Well, at an inch at a time it's still a slow go, but it's a start! As you can see, I've focused on using just one die this week. It's new to me, Sizzix Framelits, Triple Square Flip-its by Stephanie Barnard. I love that it's completed size is A2 and that it easily showcases my inchies. I have a basket of images I've made that for some reason didn't meet my needs at the time, but are just too pretty to throw away, or parts of them at least. I was able to use several of these pieces in these cards. I use a Marvy Uchida 1 inch square punch so I can tell exactly what part of the image I want to use. Of course I made some new scraps in the process too.

This one started it off, I had inchies left over from stamping with Judi-kins 2687H Hawaiian Print using Faber-Castell Gelatos. I added the Hero Arts stamp - love.
The inchies from this next card were from a Copic saturated piece of watercolor paper stamped with Rubber Stampede's cherry blossom and hilited with Sakura Soufflé pen. The dark background reminds me of a spring sky.
Using this Everything Flower S5638 background stamp from Hero Arts was fun in heat embossed black and white. I salvaged the inchies from the same background stamp that I had previously chalked. The contrast of color vs black and white is striking.
The Diva Challenge this week, 164, is to focus on earth day, err well it's Amanda day didn't you know? I've enjoyed participating in this challenge, so I thought I'd utilize Penny Black's 3040K World Peace. We can hope, right?  An inch at a time.  You'll find the earth, the sun (from Sister Sun, Brother Moon 960H by All Night Media), stars (95194CC from Inkadinkado) and of course crescent moon Zentangle® pattern.

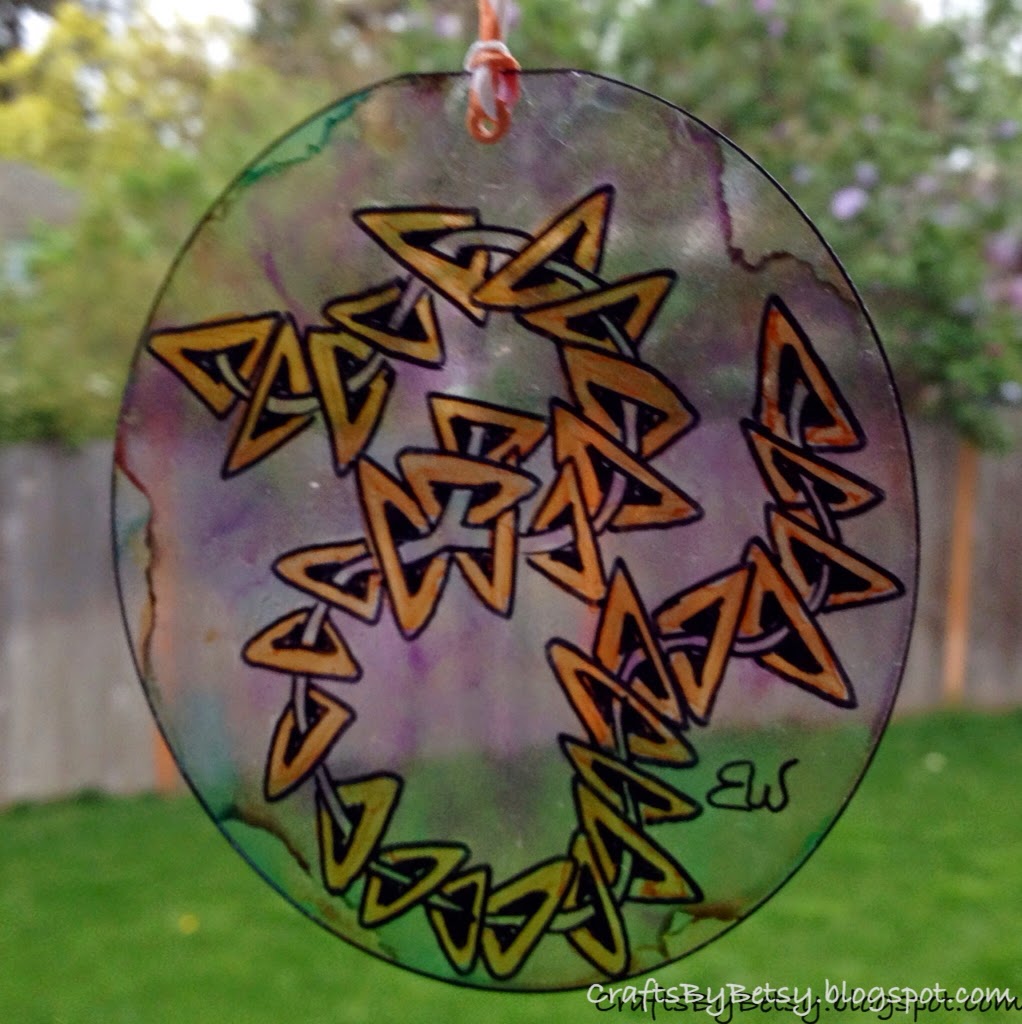
One of my favorite inchie salvages, was from a failed tangle instruction card. Ok, there are no mistakes in zentangle, so even tho I didn't want the instruction card in my pattern book, I knew I might use it some day! Turns out the small pieces make very nice inchies. And I just love this Diagram Background from Laughing Moon.


When you create in a Zentangle way, you create a beautiful piece of art. You also can deliberately create a mood, a focus, a state of mind. Creating in a Zentangle way is an easy to understand process of simple deliberate strokes which build on each other in beautiful, mesmerizing and surprising ways. Learn more at zentangle.com.

Friday, April 18, 2014

Another weekend in black and white

I enjoyed participating in this last week so thought I'd try again. But I must admit, I'm a point and shoot photographer. I'm sure there's lots of room for improvement and it's helping me to sharpen my eye to lighting and contrast. Thanks for the opportunity! Check out The Weekend in Black and White.


Rixty 'crylic

I took a one hour basic acrylic class last weekend put on by Clear Scraps. The extruded acrylic is pretty easy to use. I ended up getting several 12"x 12" sheets (important to note, they are actually 11 7/8" square). I love the look of the alcohol inks on it. For this piece, I trimmed a piece of acrylic down. It cuts pretty easily with scissors or my paper cutter. I then ran it through my e-bosser using the 4" Sizzix Bigz circle die. Don't bother trying to cut it with a wafer thin die tho, it doesn't work, even after removing the protective film. I see they have precut circles on their website.
This week's Diva Challenge is to use the new Zentangle® pattern, Rixty. It's a fun and easy pattern. Because it's such a bold and basic pattern it worked well with the acrylic. I removed one side of protective film then used a Sakura Identi-pen to draw Rixty. Next I flipped it over, removed that side's protective film, and added the alcohol inks with a felt dauber. I used Ranger Adirondacks but could've used Copic Various inks too (if I only had them!). After it dried, which was only a matter of seconds, I was able to "erase" the ink within the Rixty pattern by using non-acetone fingernail polish remover. This was the recommended product from the class. I'm guessing I could also have used alcohol, but I stuck with what had been recommended. I used a Q-tip to get most of it. I used a copic sketch brush tip to color in the pattern. Because the alcohol pen pushes and picks up the color I was able to clean up the lines where the Q-tip didn't quite get it all. I kept the tip of my marker clean by wiping it on scrap paper as I continued coloring and picking up the unwanted ink. I could have left Rixty clear by using the colorless blender instead. I punched a hole in the acrylic and used an eyelet to finish it off. Next, I used a black copic marker on the edge of the circle just to make it look more finished. Finally, I used a Krylon UV resistant clear acrylic spray in the hope of keeping the alcohol inks from fading.
Here is a sample tag of their cast acrylic that came in this precut tag shape. This type is rigid and you'll want to stick with precut shapes as you can't cut it with scissors, etc. Mine is also colored with alcohol ink and a gold opaque we used in class with the same daubing technique I used above. Once I got home with it I used a sharpie on the other side. I also learned that not all sharpies are created equal. At first I used a sharpie stylo pen. The next day I realized it smudged where I picked it up. To my amazement, I was able to wipe off the entire drawing. After checking their website, only Fine, Twin Tip, Chisel and Super are permanent. So, lesson learned.
The Zentangle® Method is an easy-to-learn, relaxing, and fun way to create beautiful images by drawing structured patterns. It was created by Rick Roberts and Maria Thomas. "Zentangle" is a registered trademark of Zentangle, Inc. Learn more at zentangle.com.